
Transforming your living area can be achieved with creativity and effort. Knowing how to paint furniture can give your furnishings a new look through a fresh application of paint, reviving their appearance and allowing for a personalized touch that showcases your unique style. Opting for this method is also budget-friendly, as rejuvenating existing pieces is often more economical than purchasing entirely new furniture.
To begin your project, you must gather items such as primer, paint, brushes, rollers, and sandpaper. Properly preparing your furnishings by cleaning and sanding them ensures a smooth surface for the best outcome. With the right techniques for application, you can achieve remarkable results that will make your furniture look as good as new.
Choosing The Right Paint For Your Project
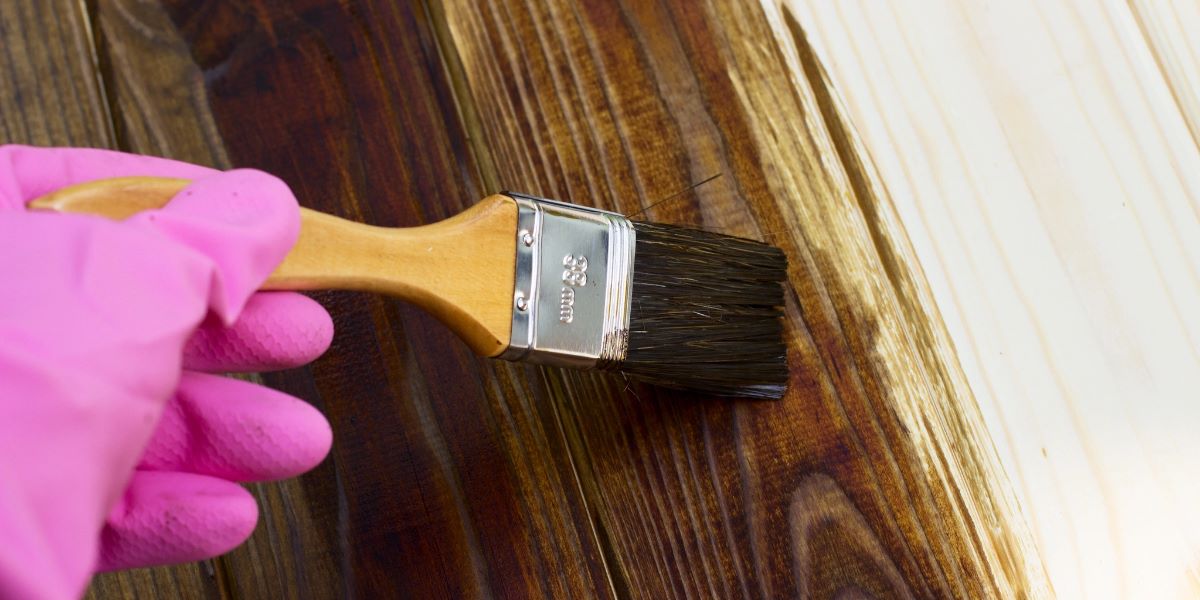
The choices you make in coating materials can greatly determine the outcome of your project. Learning how to paint furniture involves understanding the different options, such as water-based and oil-based paints, which serve unique functions depending on the surface being addressed, such as cabinetry, walls, or wooden furniture.
For instance, when working on kitchen cabinetry, a durable finish is essential to withstand daily wear and tear. Water-based paints are generally easier to clean up and have lower VOCs (volatile organic compounds), making them a safer option for indoor use. On the other hand, oil-based paints offer a tougher finish but require mineral spirits for cleanup and have higher VOC levels.
Understanding various factors like color finish and type of paint helps make informed decisions that affect the overall feel of the space. Each finish, whether matte, satin, or gloss, changes light reflection and texture, influencing the ambiance. When tackling furniture paint projects, surface preparation using tools like a utility knife or sandpaper is crucial for optimal adhesion. Always test colors on a small piece of furniture before committing to a larger application to see how they interact with the existing decor.
Example:
- Water-Based Paint: Ideal for living rooms and bedrooms due to its low odor and quick drying time.
- Oil-Based Paint: Best for high-traffic areas like kitchen cabinets and doors due to its durability.
Essential Tools For Painting Furniture
Transforming the look of your furniture can be a rewarding project, and the success of this endeavor greatly depends on using the right tools.
Tools and Their Purposes:
- Brushes: Essential for evenly applying paint, especially when working with chalk paint or latex paint for detailed areas.
- Sandpaper: To create a smooth and clean surface for paint adherence. Sandpaper of various grits is needed for different stages of preparation.
- Roller: For larger areas, a roller can expedite the painting process while ensuring a uniform finish.
- Foam Roller: For achieving a smooth finish on flat sections, it is especially useful for cabinetry and larger flat surfaces.
- Detail Brushes: For intricate designs and small areas that require precision.
Proper maintenance and storage of your painting tools, including brushes, rollers, and sandpaper, along with the correct handling of paint types such as latex and chalk paint, will ensure a long-lasting finish on your cabinets and other surfaces.
Preparing Your Furniture For A Fresh Coat
Revitalizing your beloved items can breathe new life into your space and create a fresh vibe. Start by thoroughly assessing the condition of each piece, ensuring that any scratches or dents are addressed. Identifying these issues makes it easier to clean effectively.
Steps for Preparation:
- Cleaning: Depending on the type of dirt or finish, use mild soap or chemical removers, taking care to use clean cloths or brushes to prevent cross-contamination of materials.
- Sanding: Once the surface is clean, lightly sand the furniture with the appropriate grit for wood furniture. This crucial step ensures a smooth finish that allows your primer to adhere efficiently.
- Dust Removal: Be diligent in removing all sanding dust, as this will affect the application of your subsequent layers.
- Priming: Select an appropriate primer for your wood furniture to ensure a smooth finish that complements the paint color you want to achieve.
Techniques For Achieving A Smooth Finish
Mastering the art of painting involves a nuanced approach that can significantly impact the overall outcome.
Key Techniques:
- Surface Preparation: Cleaning and sanding ensure paint adheres well to surfaces.
- Using a Quality Primer: Creates a smooth base for the first coat.
- Applying Thin Coats: Instead of a single thick layer, opt for thin coats to avoid streaks and roller marks. Lightly sanding between coats enhances the smoothness of the finish.
- Proper Drying Conditions: Ensuring proper drying conditions prevents imperfections.
Example:
- Thin Coats: Applying thin coats can significantly reduce the likelihood of streaks and roller marks. For instance, when painting kitchen cabinets, thin layers ensure a smoother and more durable finish.
Step By Step Guide To Painting Cabinets
Transforming your cabinetry can significantly uplift the overall aesthetic of your space. A successful home DIY project begins with meticulous preparation.
Steps:
- Gather Materials: Include quality paint, brushes, rollers, sandpaper, and primer.
- Remove Cabinet Doors and Hardware: Labeling each component will streamline the reinstallation process.
- Clean Surfaces: Using a degreasing cleaner ensures the paint can adhere effectively.
- Sand Surfaces: Use grit sandpaper to enhance adhesion.
- Prime and Paint: Apply a quality primer followed by thin coats of paint, sanding lightly between each coat.
Tips For Applying Thin Coats Of Paint
Achieving a flawless finish on your projects requires careful attention to detail and technique. Knowing how to paint furniture using thin layers not only enhances the durability of your work but also significantly reduces the likelihood of imperfections like drips or runs.
Techniques:
- Preparation: Clean and prime your wood surface for optimal adhesion.
- Thin Layers: Always use the right tools, whether it’s a brush, roller, or spray method, to apply thin, even coats.
- Scuff Sanding: Between coats, lightly sand to improve adhesion and achieve a smooth finish.
- Evaluating Layers: After each coat dries, evaluate whether additional layers are necessary, especially if aiming for a glossy finish.
How To Properly Sand Your Furniture
Achieving a professional look on your wooden creations requires careful preparation and attention to detail. One major aspect of preparing the wood piece is ensuring a smooth surface that is ready for a beautiful layer of paint.
Steps:
- Choose Grit Levels: Start with coarse grit to remove old finishes and transition to finer grits to polish the surface.
- Hand Sanding vs. Power Sanding: Decide based on the project’s needs. Hand sanding is great for detailed areas, while power sanding is efficient for larger surfaces.
- Dust Removal: After sanding, make sure to remove all dust to ensure a smooth finish.
Understanding The Different Types Of Paint Finishes
The selection of a paint finish can transform the overall aesthetic of your space while also influencing its practicality. By comparing finishes like matte, satin, and gloss, you’ll discover that each option offers unique qualities tailored for specific applications.
Types of Finishes:
- Matte: Non-reflective, best for ceilings and low-traffic walls.
- Satin: Soft sheen, ideal for living rooms and bedrooms.
- Gloss: High-gloss options are best suited for high traffic locations, such as kitchens and bathrooms, where cleanup is crucial.
Example:
- Matte Finish: Creates a subtle ambiance, perfect for a bedroom.
- Gloss Finish: Highly reflective and easy to clean, making it ideal for kitchen cabinets and bathroom walls.
By carefully choosing the right materials, preparing your surfaces properly, and applying the right techniques, you can achieve beautiful, professional results in your home DIY projects. With patience and attention to detail, painting your furniture can be a fulfilling and cost-effective way to revamp your space.